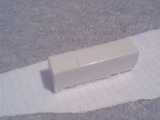
This shows how I made my AP disengage bar for the MCP.
The method is simple and cheap: using a hot glue gun and a mold where I poured the hot glue into.
My mold is a part of a standard audio tape box as seen in this picture.
To allow an easy removal of the cooled down glue, I used paper around the "walls" so I could get the molded part out easily.
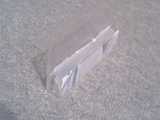
The size of the audio tape box is a little larger than what I need for the disengage bar, but the molded piece gets cut to size later.
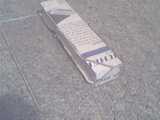
Here the glue is cooled down.
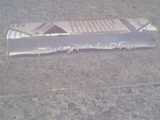
carefully pulling the piece out of its mold. The audio tape box is still usable :-)
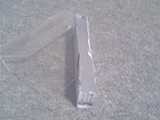
Removing the paper involves lukewarm water and rubbing off the paper with fingers. The kind of paper I used proved to be a very good choice: thin catalogue paper (from my favourite electronics supplier :-)
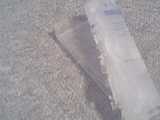
What remains of the paper is only a very thin face layer (of which the print of the side facing the glue is part of).
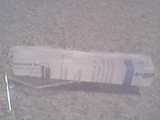
Cutting to shape. I tried using sharp knives/scalpels first, but the cuts are not smooth. Then I used my soldering iron to warm up the blade of the knife and this worked very nicely. It just creates bad smells!
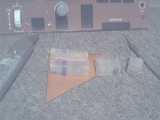
The knives used and the MCP panel where the bar is gonna be installed.
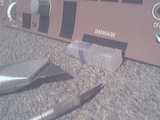
The size fits well.
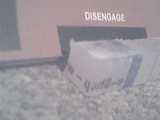
Here's the side with the cut.
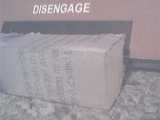
from the top
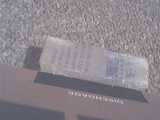
The Disengage bar painted (sort of) white.
